I used the wall void space on a wall that was in a path way upstairs to create a Palymobil display case with sliding glass doors and LED lighting.
Wall void openings:
Between the two sections was two 2x4's that were separated. I eventually opened smaller individual openings for the center. Also because of the extra stud teh two main openings are not the same width.
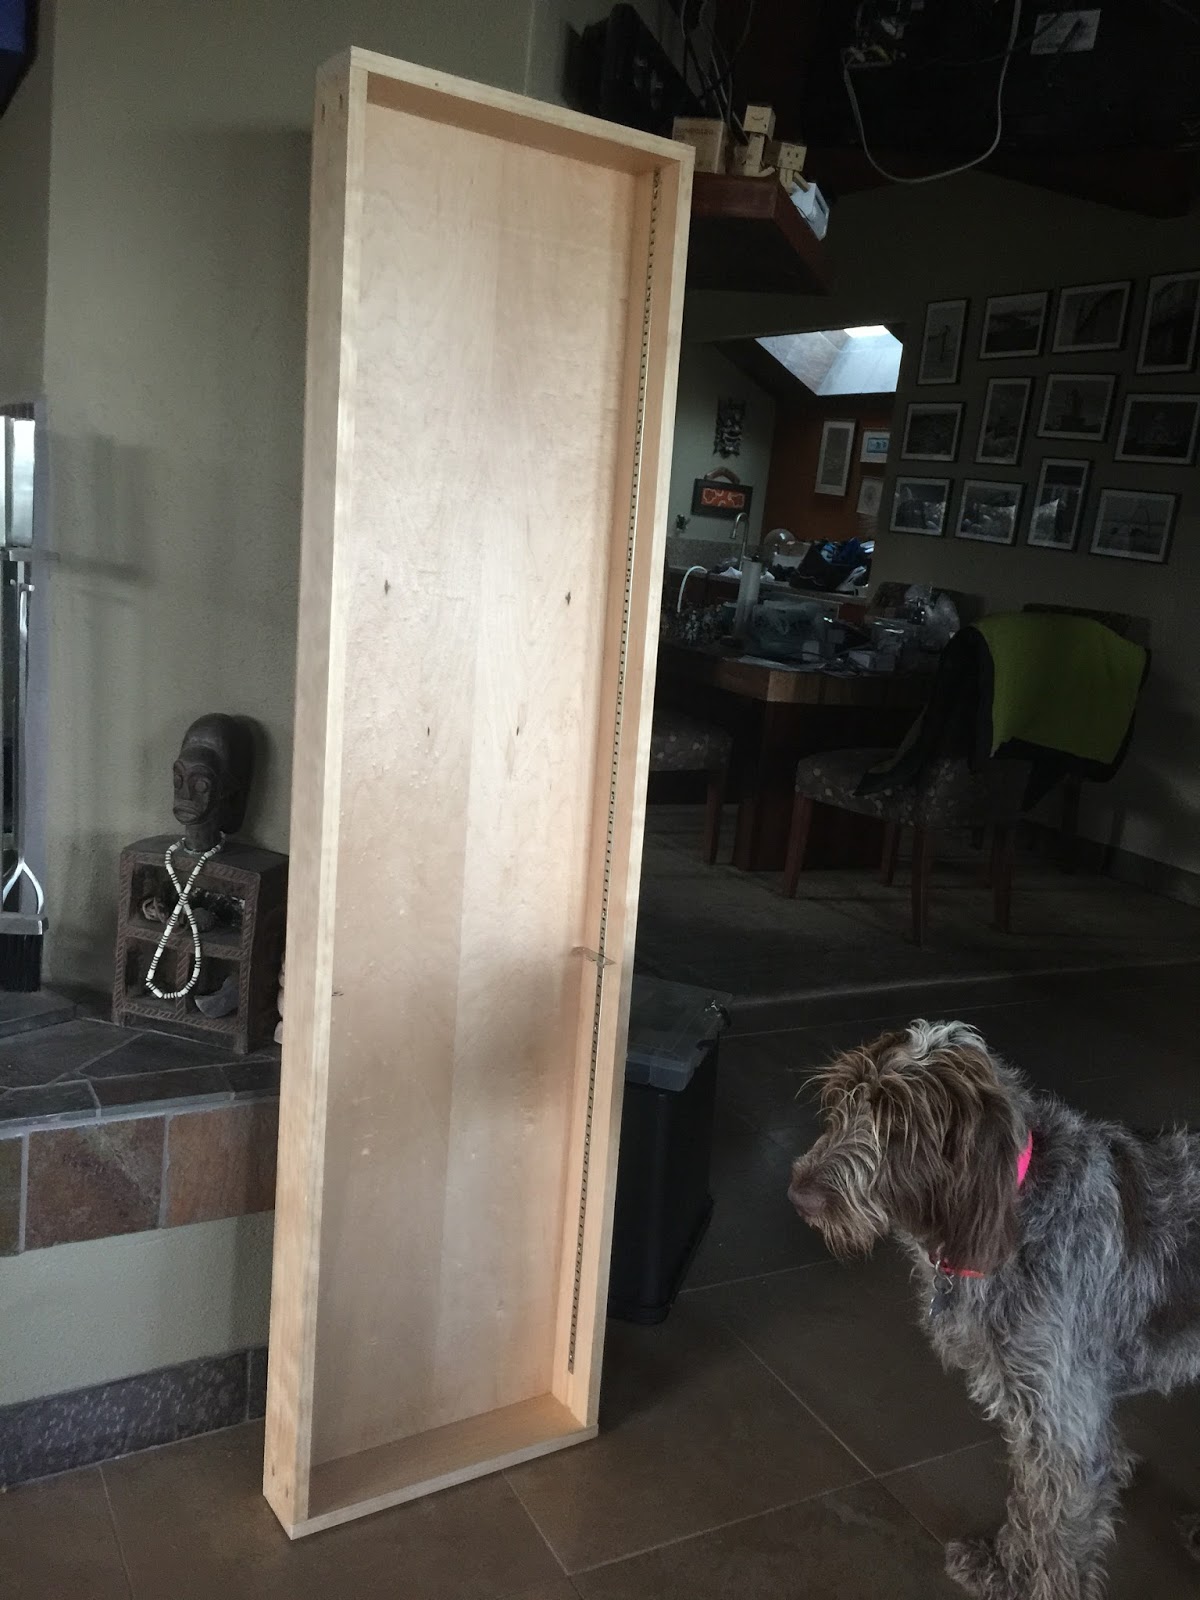
Building the case:
Final Display case with lighting:
The LED lights are RGB plus white and there is a wall mounted controller.
Playmobil vinyl cutout stickers:
Playmobil Figures:
Playmobil are a German toy that was my favorite toy when I was young. They are still made in Germany today.
If you want to see galleries of photos I have taken using some of my various Playmobil check out my photography website:
http://www.margygreen.com/Playmobil
I have a huge list of staged photo ideas for all of my playmobils. I just don't have the time to get them all done.


.jpg)


